There’s a reason pantry organizing videos do so well on Instagram. The baskets. The labels. The rows of neatly lined-up jars. A beautifully organized pantry is weirdly satisfying. Like a splurge at Erewhon.
Until real life happens. A half-open bag of Pirate’s Booty gets tossed on the wrong shelf. A box of Spindrift gets wedged in wherever it fits. Someone buys another giant box of granola bars because no one can see the three already open. And suddenly, your “organized” pantry has become a dumping ground.
I’m not exaggerating – I see it all the time. The key to a pantry that actually stays organized isn’t perfection. It’s creating a system that works for the way your family actually lives, shops, cooks, snacks, and eats.
Here’s exactly how I do it…
Step 1: Pull Everything Out
And I mean everything. You can’t organize what you can’t see. When a pantry has become cluttered or chaotic, things get lost at the back. Food expires. Duplicate items pile up. Random non-food items somehow make their way in. Taking everything out gives you a clean slate and lets you properly assess what you’re working with. Yes, it’s messy. Yes, it can take over your kitchen for a bit. Trust the process.
Step 2: Declutter Ruthlessly
Now it’s time to edit. Throw away anything that’s expired. Recycle packaging. Remove anything your family doesn’t eat or use. Set aside unopened items to donate or give to a neighbor. And remove anything that simply doesn’t belong there. The goal is simple: if it doesn’t deserve valuable pantry space, it goes.
Step 3: Sort Into Categories
This is where the magic starts to happen. Group similar items together into categories or “zones.”
For example:
- Breakfast foods
- Snacks
- Baking ingredients
- Pasta, rice and grains
- Canned goods
- Oils and condiments
- Herbs and spices
- Supplements and protein powders
- Nuts and seeds
And if you have children, you may want to split snacks into:
- Snacks kids can access
- Snacks you’d rather they didn’t
No two family pantries should look the same. The right zones depend entirely on what your household actually eats.
Which brings me to…
Step 4: Organize Around Behavior
This is the difference between a pantry that looks good… and one that stays organized.
Here are some examples of what you can ask yourself:
- What do you reach for every morning?
- Do your kids constantly ask for snacks?
- Do you bake every weekend?
- Do you buy supplements in bulk?
Your pantry should reflect your habits. A breakfast station can make mornings easier. A snack station can foster independence for little ones. A baking section means everything you need is in one place. If your family eats dried fruit every day, for example, give dried fruit its own zone.
Step 5: Contain Everything
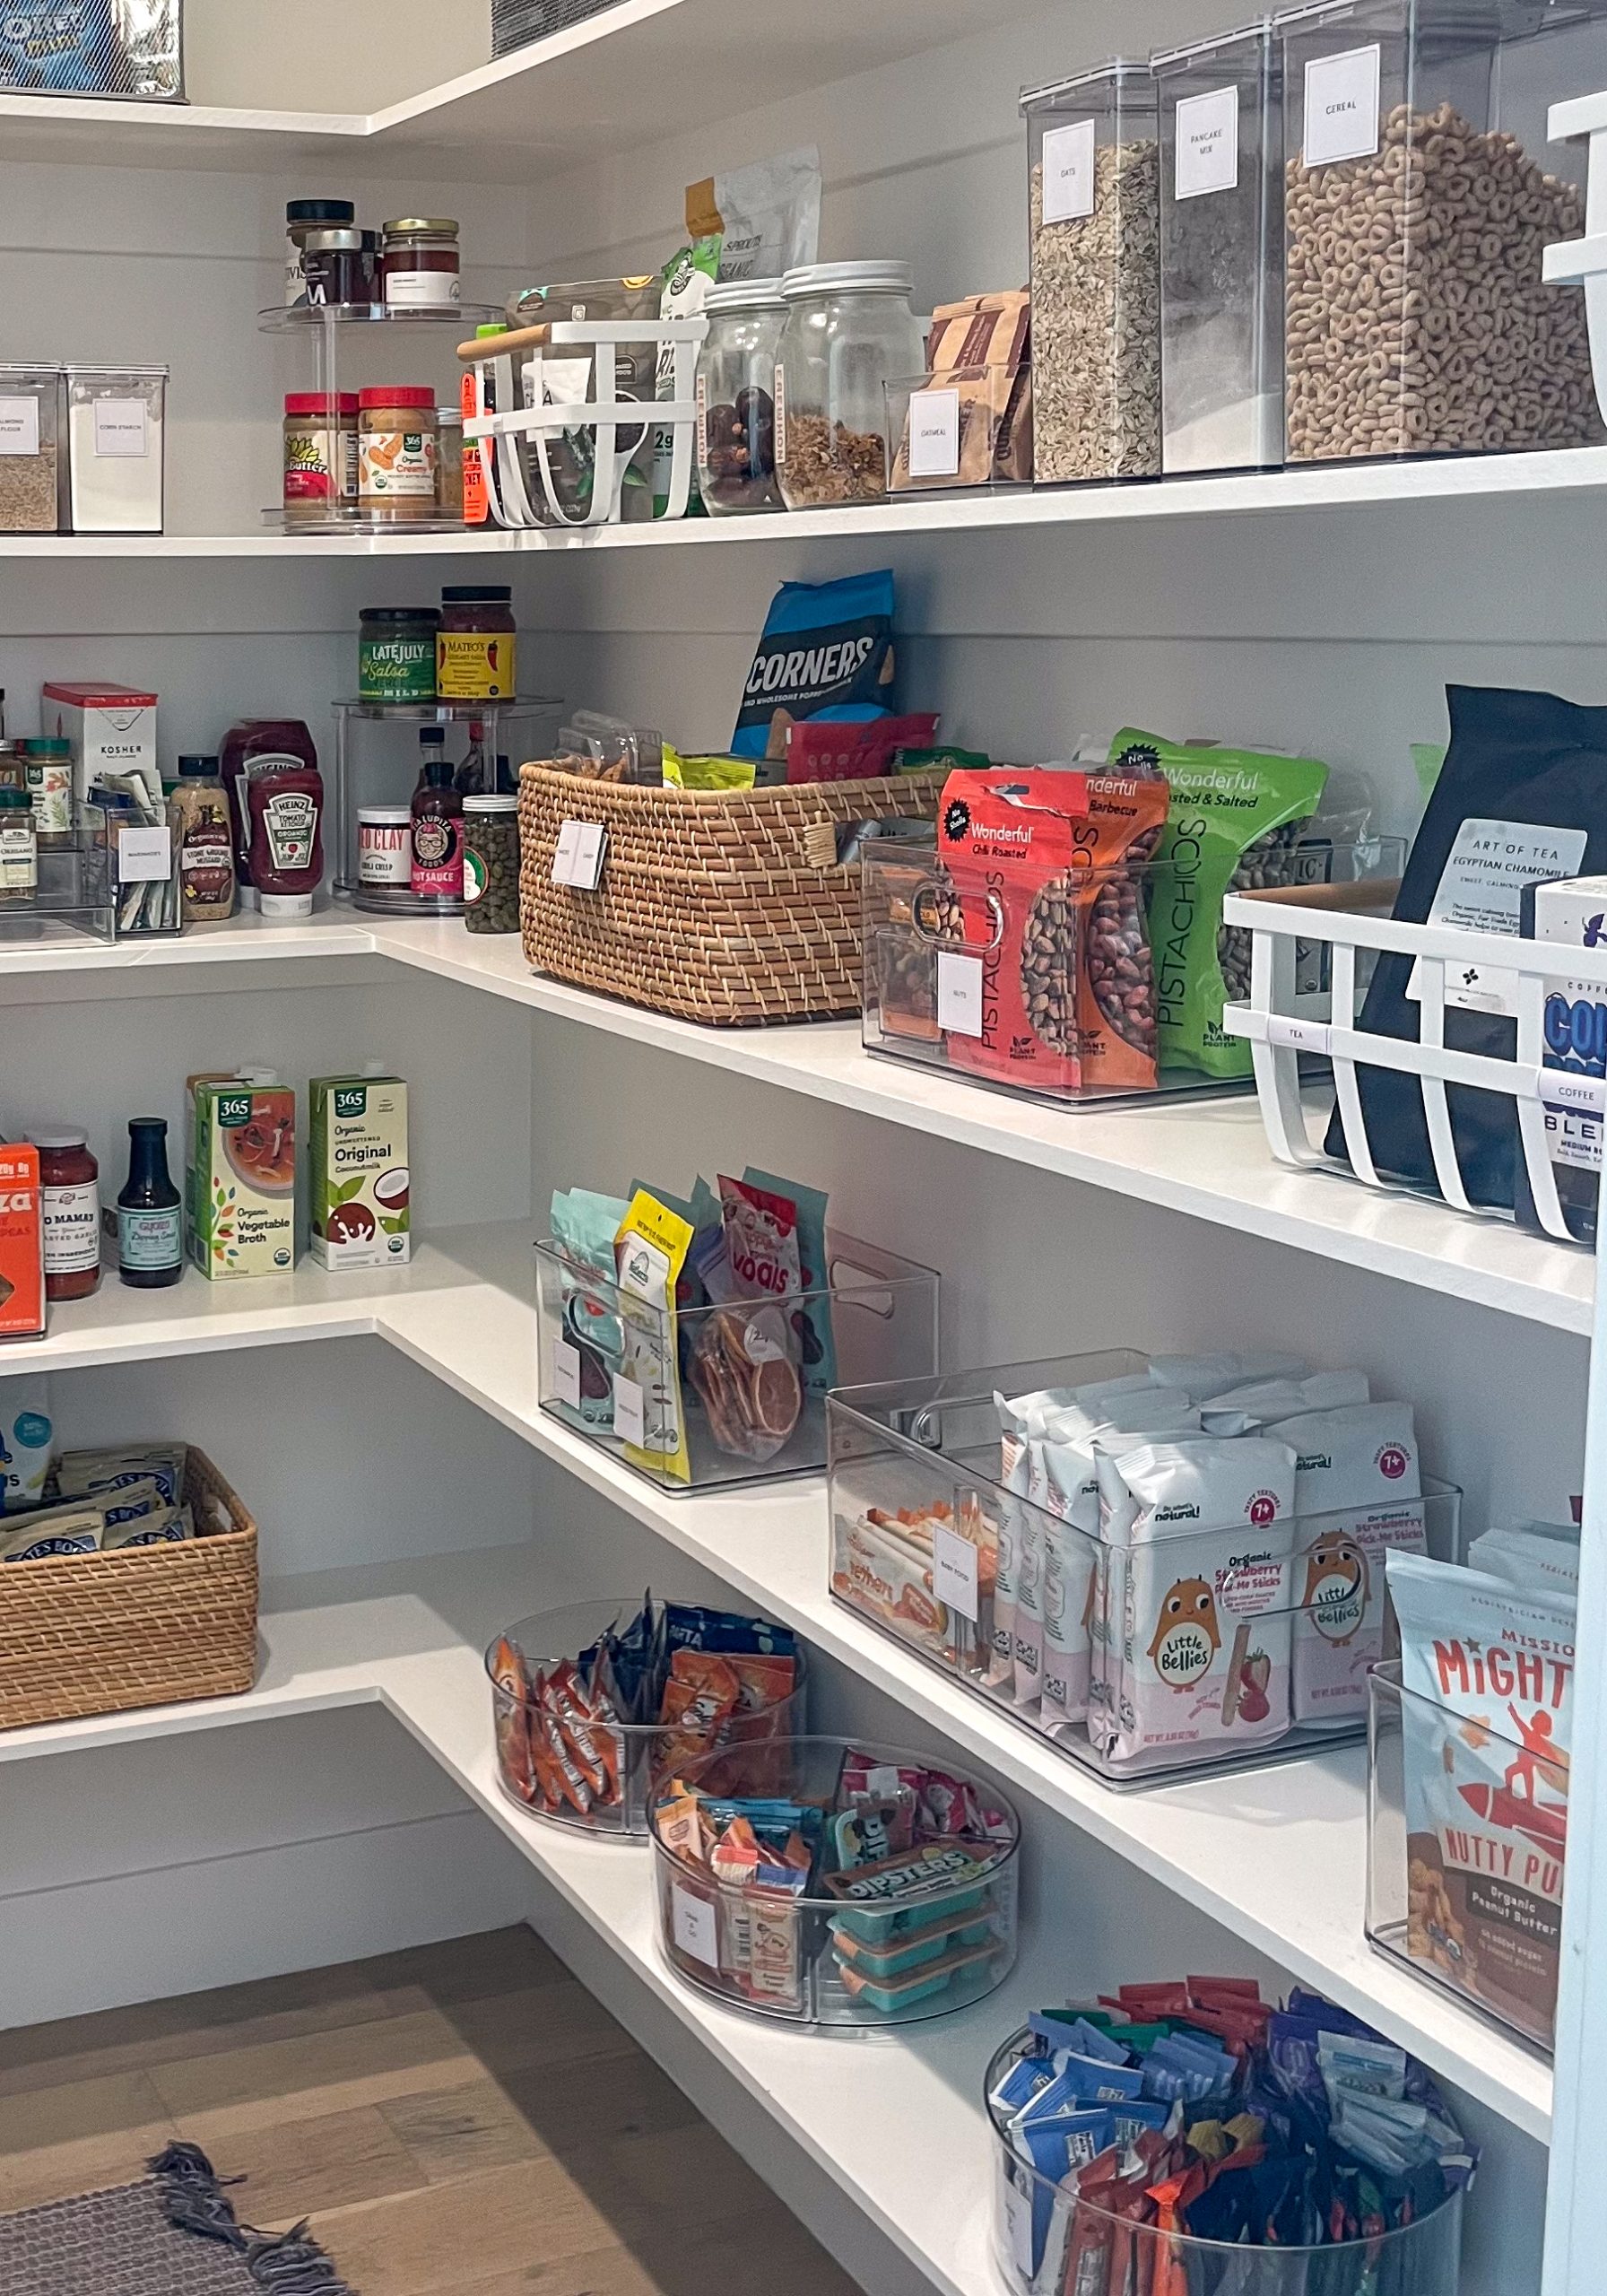
Containment is what keeps categories from drifting. Bins, baskets, turntables and shelf risers all help create boundaries. That doesn’t mean you need to spend a fortune. I always try to use what clients already have first. But adding the right storage can make a huge difference.
Acrylic bins, rattan baskets, wooden boxes, Lazy Susans… the right products aren’t one-size-fits-all. What works in a deep walk-in pantry won’t necessarily work in a narrow cupboard, which is why I always assess each space individually.
Containment makes it easier to:
- see what you have
- keep categories together
- pull things out quickly
- put them back easily
And that’s what makes a system sustainable.
Step 6: Decide What To Decant
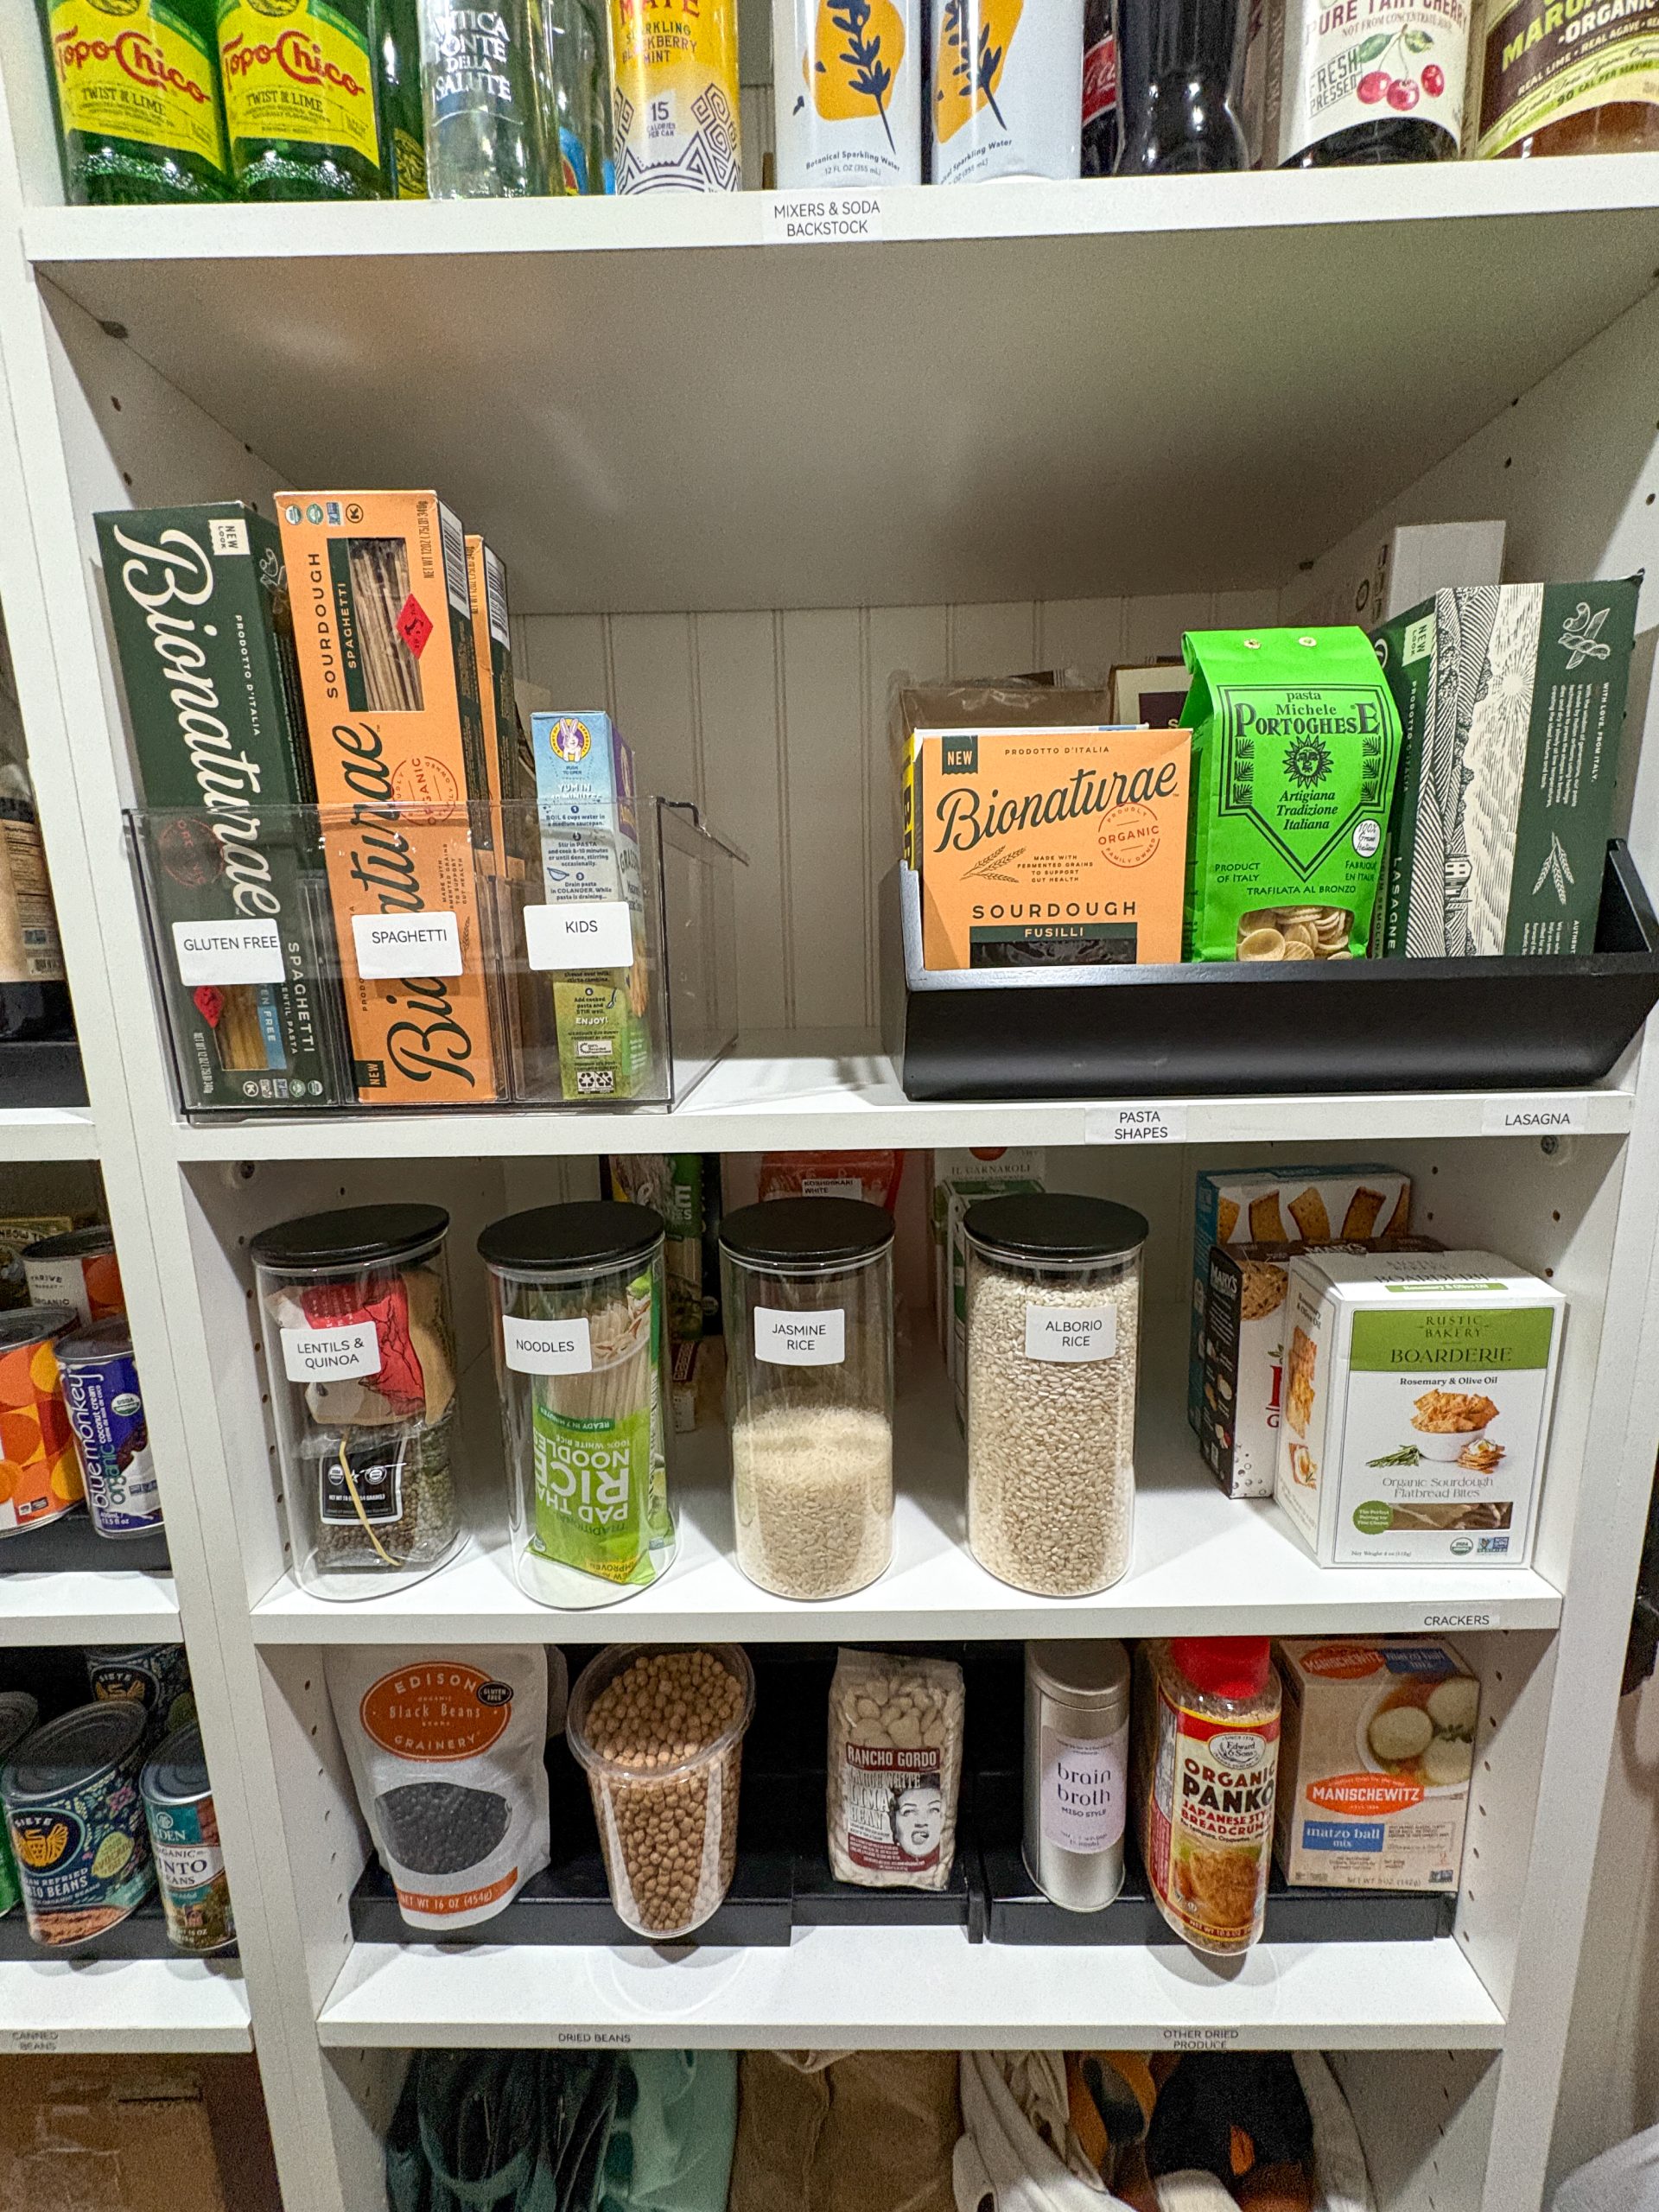
Let me say this clearly: You do not need to decant everything. In fact, sometimes decanting creates more work than it solves. But if you use ingredients regularly – things like flour, oats, rice, sugar, or pasta – it can be a game changer.
Decanting can:
- keep food fresher
- make things easier to find
- make restocking simpler
- look beautiful
But it only makes sense if it suits the way you live. For example: If you bake all the time, decant your flour. If you have six different types of flour you barely use, don’t buy six jars. Put them in one labelled bin.
If you buy giant bags of pasta from Costco, decant it into a large container and refill as needed.
It’s about giving space to what you actually eat. Not creating work for the sake of aesthetics.
Step 7: Create a Backstock Area
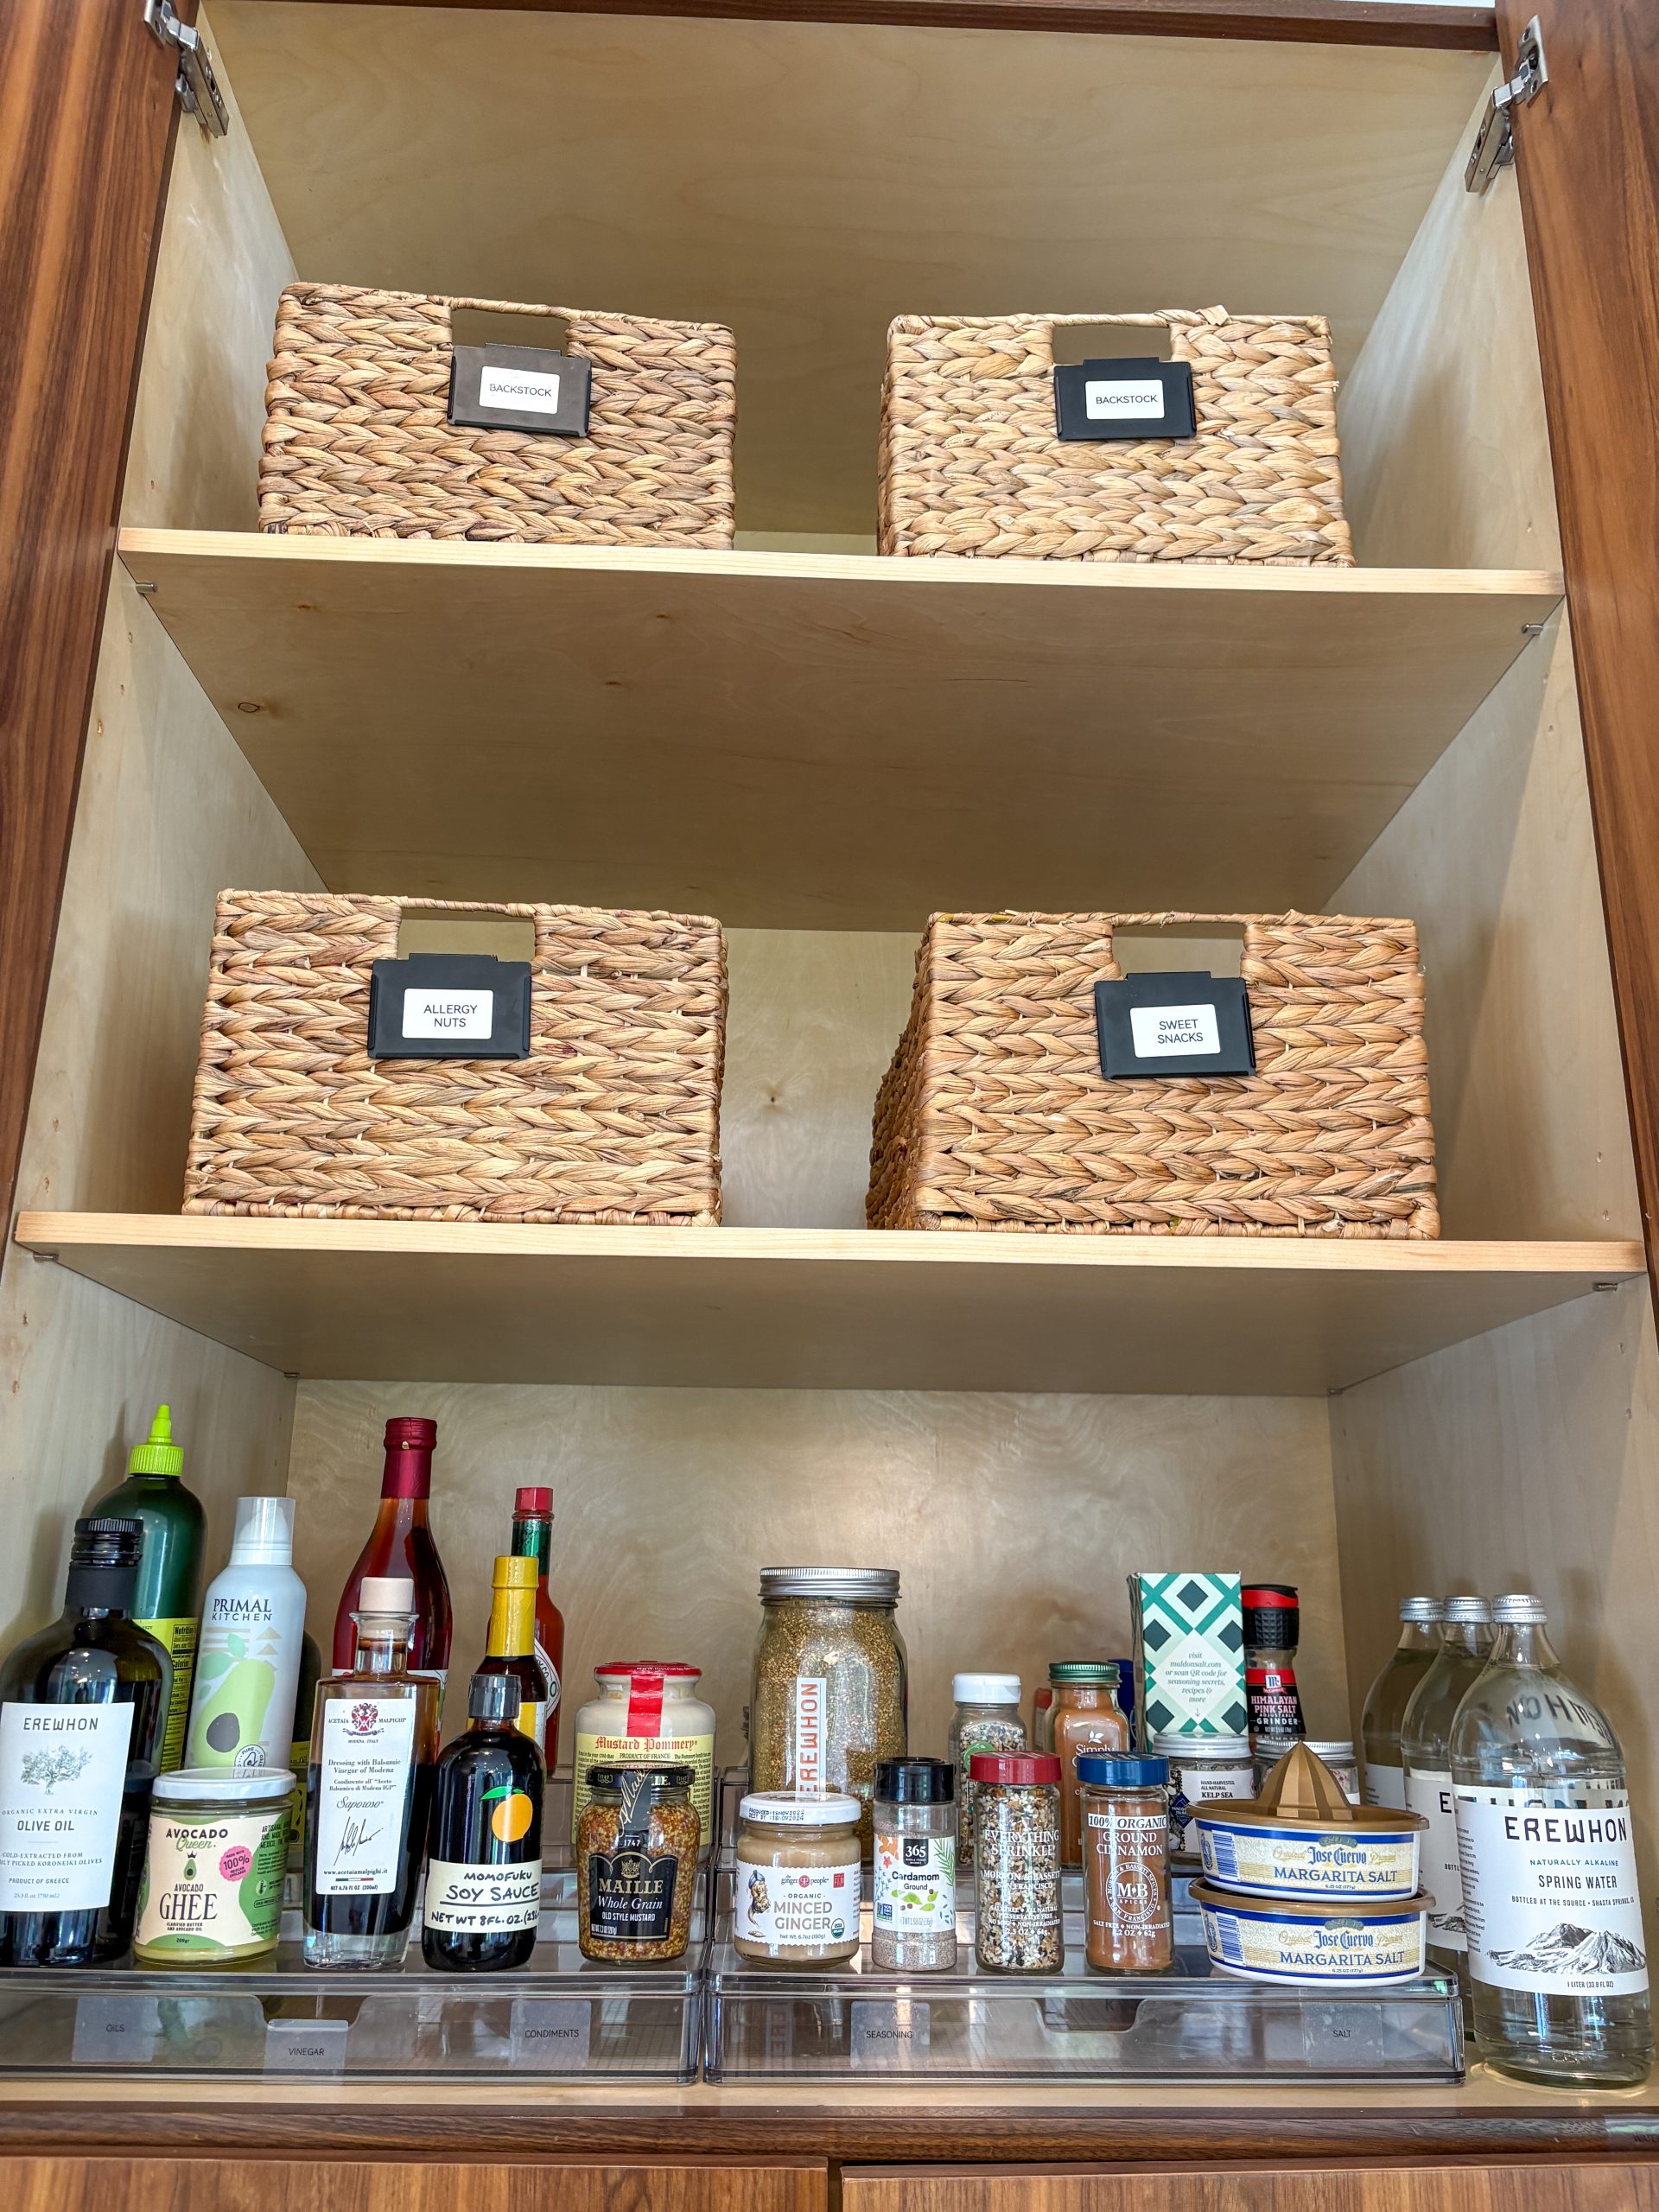
This is one of the most overlooked parts of pantry organization. Especially in LA, where Costco culture is real. Bulk shopping without a backstock system is a fast track to chaos. Your pantry should have a “shop” section. A top shelf or separate area where extra stock lives until you need it.
For example:
- extra snacks
- spare cereal
- bulk oils
- extra baking ingredients
- refill packs
Large labelled bins work beautifully here because they’re easy to pull down and easy to maintain. Then, before shopping, you check your backstock first. This reduces waste, prevents duplicates, and saves money.
Step 8: Put Everything Back… Thoughtfully
Now comes the satisfying part. Put everything back in a way that makes sense. Frequently used items at eye level. Kids’ snacks within reach. Backstock up high. Heavier items lower down. Everything visible. Everything accessible. Everything with a home. And suddenly, your pantry doesn’t just look better. It functions better.
Why This Pantry Will Actually Stay Organized
This is the part most people miss. A pantry stays organized when:
- it’s built around your family’s real habits
- everything has a clear home
- categories are contained
- it’s easy to reset
- it accounts for bulk buying
- it reduces decision fatigue
- it reflects what you actually eat
Not what you think you should eat. A pantry doesn’t stay organized because it’s pretty.
It stays organized because it works. And when it works, everyday life feels easier. Which, in my opinion, is the whole point.
If your pantry has become a dumping ground and you don’t know where to start, I can help.